🔎Note: The Facebook chat integration requires a Facebook Business Manager account.
Skip ahead to
- What is Facebook Business Manager?
- Creating a Facebook Business Manager account
- Integrating Facebook Messenger with your site
What is Facebook Business Manager?
Facebook Business Manager is a tool that helps organize and manage your business. You can:
- Separate your personal profile from your business page for more privacy.
- Manage multiple Facebook pages, business assets, ad accounts, Instagram accounts, and product catalogs in one place.
- Securely share full or partial access to team members.
- Build different custom audiences for different ad campaigns.
Creating a Facebook Business Manager account
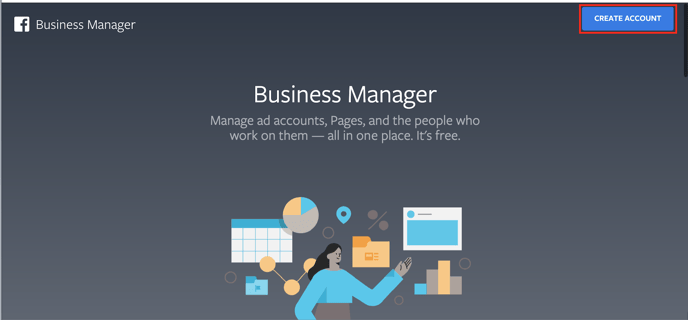
- Log in to business.facebook.com and click Create Account.
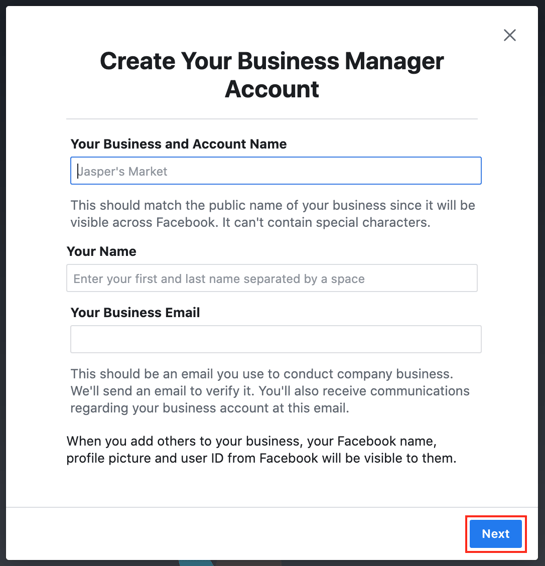
- In the required fields, add your business and account name, personal name, and business email.
- Click Next.
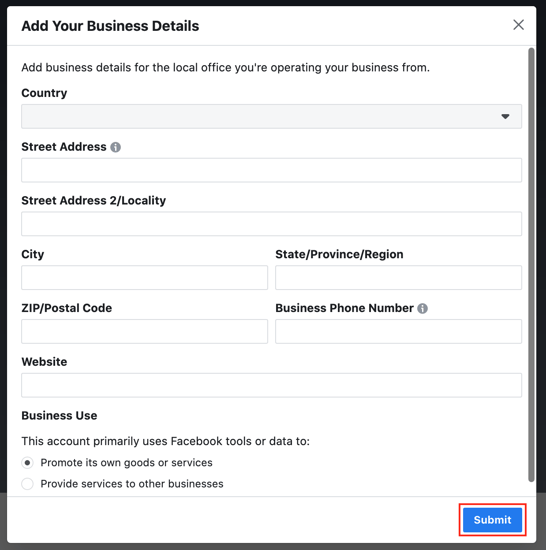
- On the next page, add your business's address, phone number, website information, and select the business use case for the Facebook account.
- Click Submit.
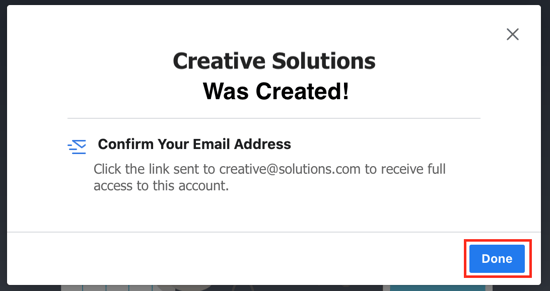
- Confirm your email address and click Done.
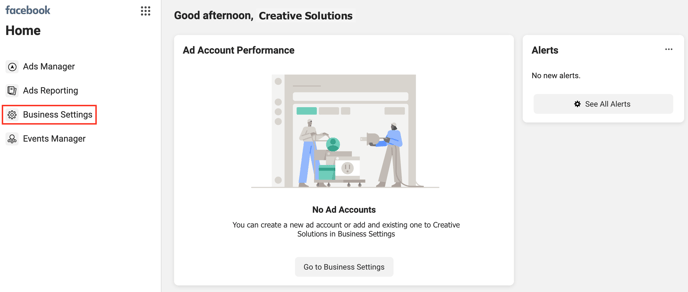
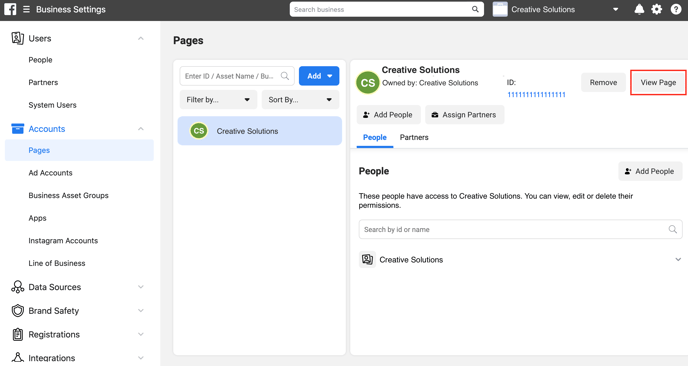
Viewing your Facebook Business Manager page
To access your Facebook Business Manager page follow these steps:- Click Business Settings.
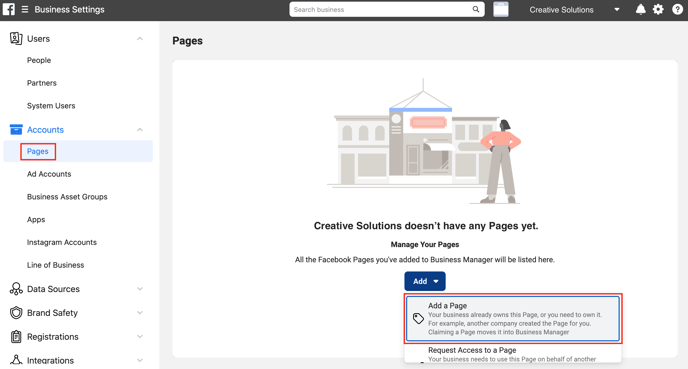
- Click Pages and select Add a Page.
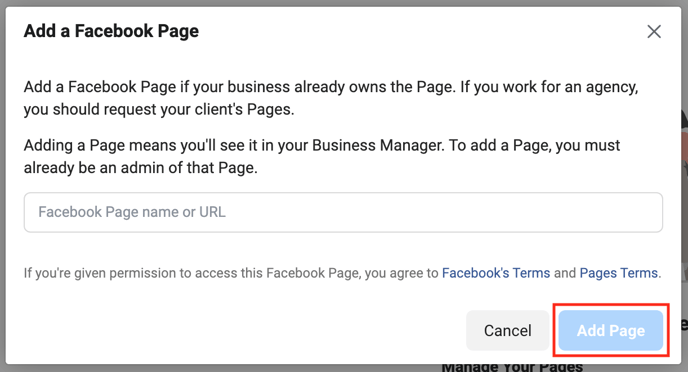
- Add your Facebook Page name or URL and click Add Page.
- Click View Page to see your Facebook Business Manger page.
Integrating Facebook Messenger with your site
- From the Facebook Business Manager page, click Settings.
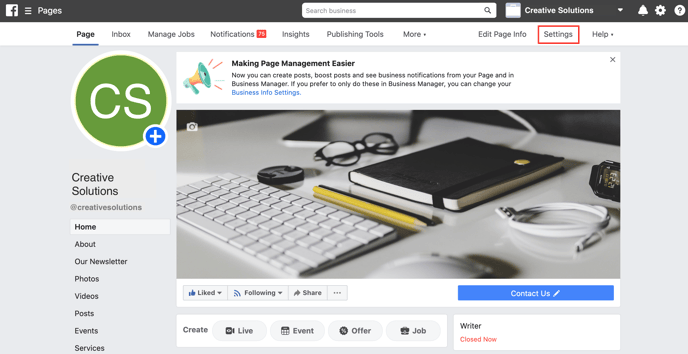
- Click Messaging.

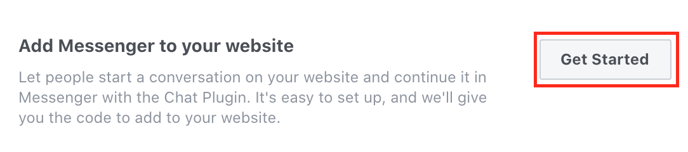
- Scroll down to Add Messenger to your website and click Get Started.
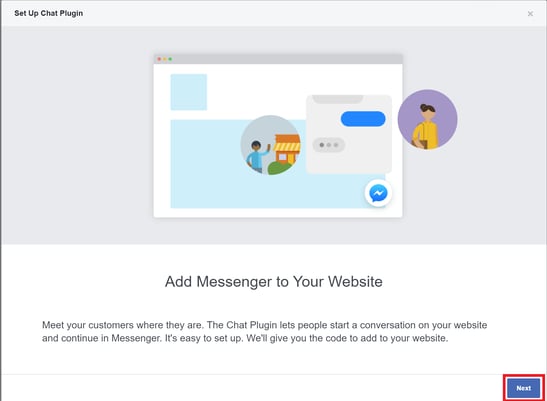
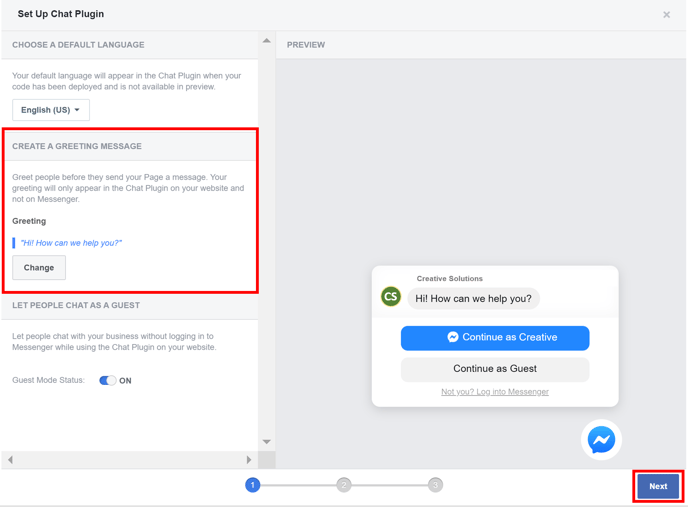
- Click Next.
- To change the default greeting, click Change and enter the message you would like customers to see.
- Click Next.
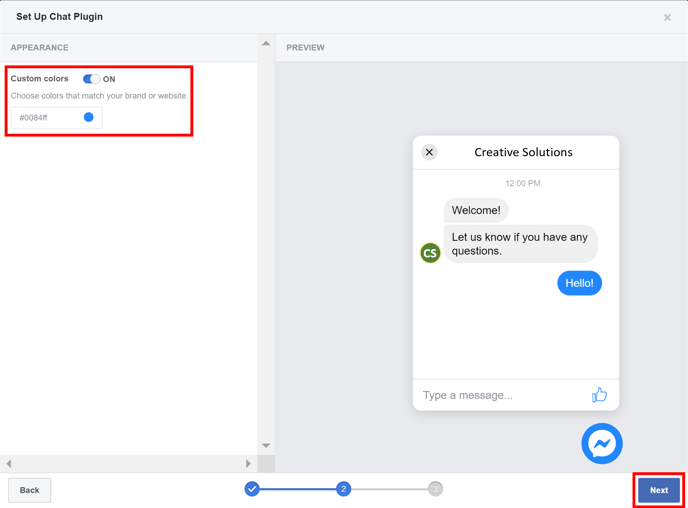
- To customize the colors on your chat plugin, turn on Custom colors and choose the color that matches your brand or website.
- Click Next.
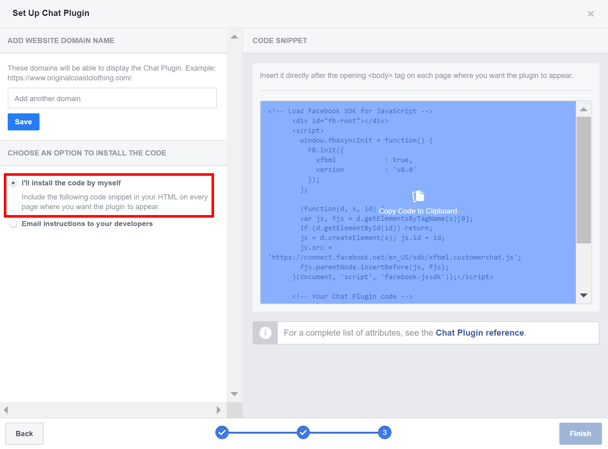
- Add the domain(s) the chat plugin will be using and click Save.
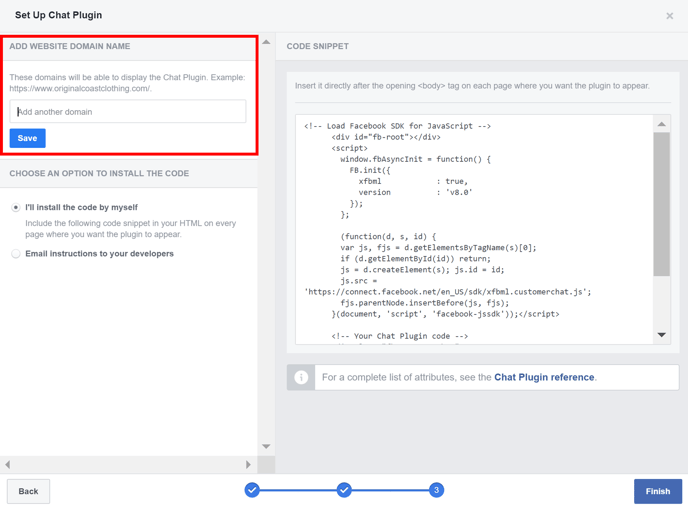
- Choose an option to install the plugin's code snippet on your website.
- If you choose I'll install the code by myself, copy the code snippet and insert it directly in the HTML of every page where you want the plugin to appear. Place the code snippet after the opening <body> tag of the HTML document.
- If you select Email instructions to your developers, email the code snippet to the lead builder of your website.
- Click Finish.