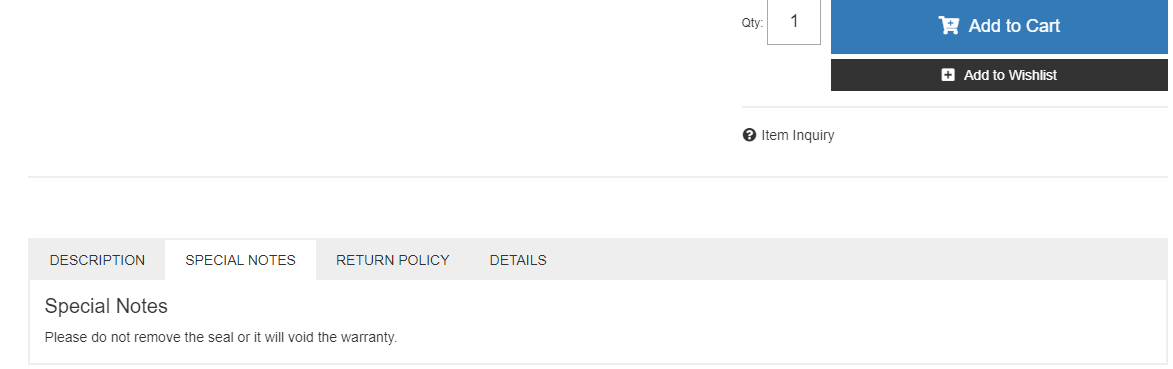
"Additional Detail" tabs are the additional tabs we see on the product page aside from the "Description" and "Details". This is a great way for you to add some additional product information, e.g. Videos, Refund Details, Special Notes, etc.
How to add "Additional Detail" tabs?
Adding Manually.
- Go to Catalog > Products > and edit the product
- Scroll down to the Additional Details Section and click on “Add Row” and fill in the Title and Description. Description can be simple text or HTML code. Scroll down and click on “Save Changes”.
Adding via CSV (Bulk Import)
First, since we are only adding tabs to the product page, we need to export the current products on site.
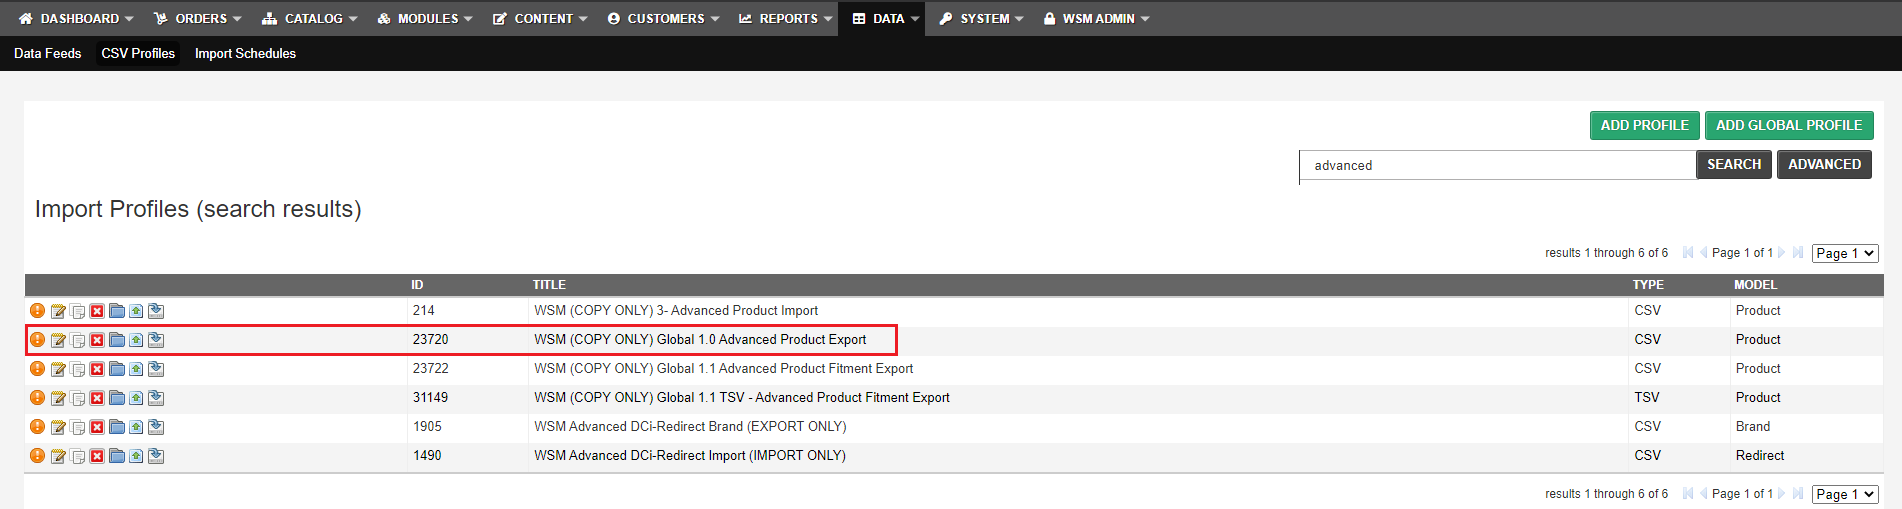
1. Go to Data > CSV Profiles > Seach for "advanced". This will show you the different product profiles. Select the global profile, "Advanced Product Export".
2. In your exported sheet, you may select the products you would like to add your additional details to, and delete those that are not needed from the sheet. You may also delete other columns aside from the StockID, which is our unique identifier. Add your desired tab names, e.g. Special Note, Return Policy, Videos.
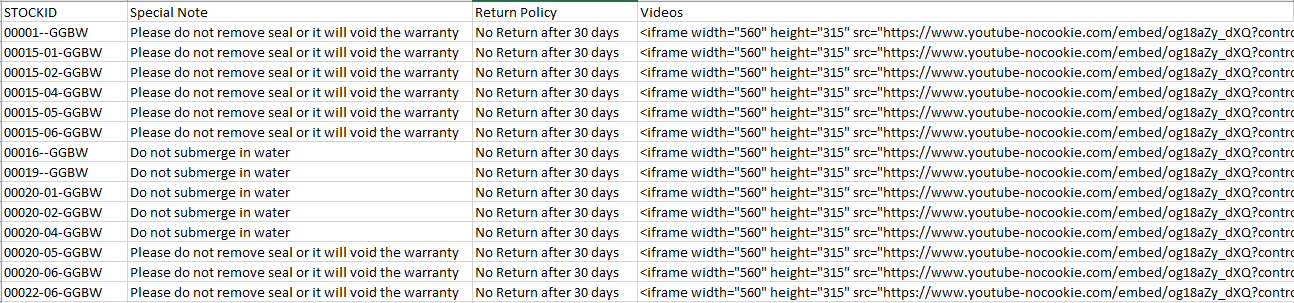
Note: The column headings in your CSV file (Special Note, Return Policy, Videos) will be used as the Details Title while the contents of the cell will be the actual details.
3. Save the sheet in CSV in UTF-8 encoding.
4. Add the profile in the back-end if not done already.
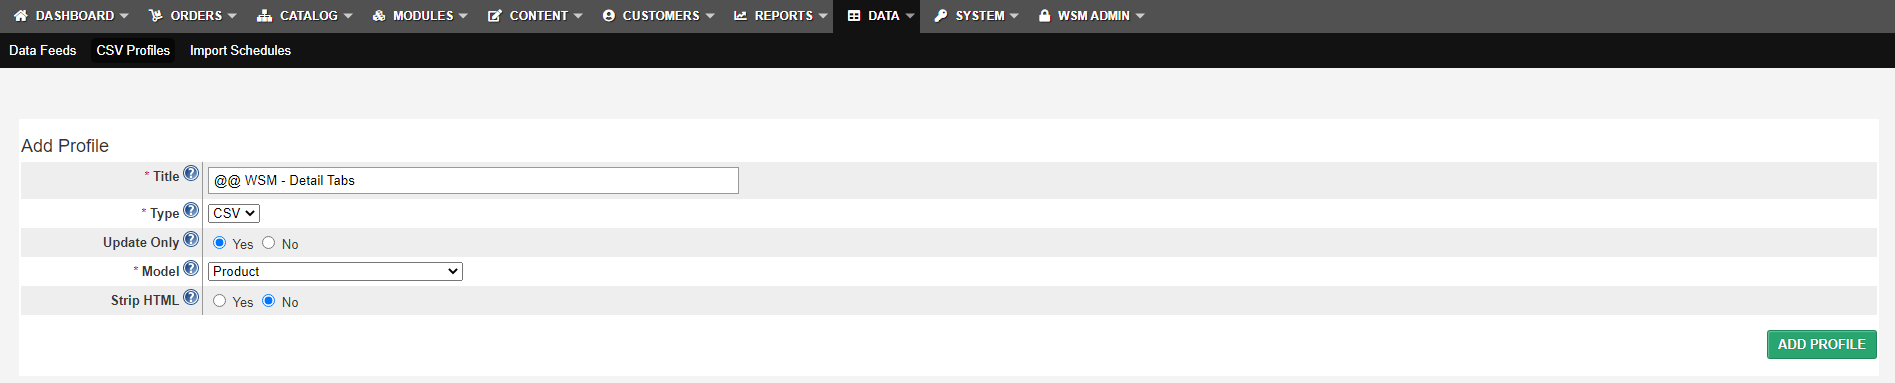
- Go to Data > CSV Profiles > Add Profile.
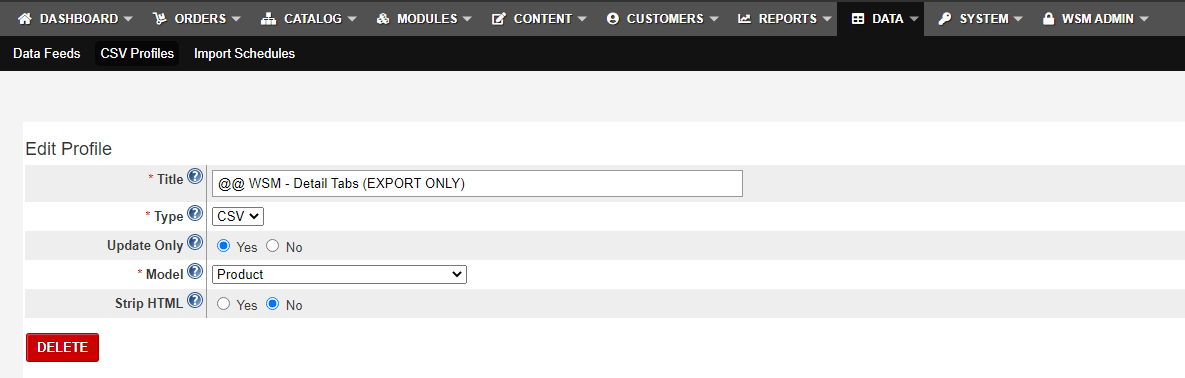
2. Fill in the Profile Detail.
- Title: A Profile Name
- Type: CSV
- Update Only: Yes
- Model: Product
- Strip HTML: No
3. Edit the newly added profile by clicking on the Folder Icon. 
4. Click on Add Field button.
- Target Field: StockID
- Source Type: Column
- Source Value: StockID
- Unique: Yes
5. Add desired tab name, e.g. “Special Note” then click the "ADD FIELD" button.
- Target Field: Detail
- Source Type: Column
- Source Value: Special Note
- Compound-Value Delimiter: ~
- Multi-Value Delimiter: ^
Note: You can add a combination of any Delimiter but it is recommended to use Tilde (~) and Caret (^) which will not conflict with your HTML codes.
6. Continue adding fields into your profile until all the columns in the spreadsheet are all added. Note: The column headings in your CSV file have to match with the fields in your import profile.
7. Import your CSV file.
- Click on Run Import button.
- Click the checkbox for Force if there are no additional detail tabs currently in the site, otherwise, click both Force and Append if you are adding the tabs on top of the current ones. Important! The Append button lets you add new detail tabs in addition to the existing ones. Without clicking Append will wipe out all of the existing additional detail tabs of the product(s) being imported. Thus, if you intend to replace the tabs with the new ones in the file, only click Force. But if you intend to just add an additional detail tab on top of the existing ones, click both Force and Append.
- Choose file.
- Click Run Import.
How to delete the "Additional detail" tabs?
Manual Delete
To manually delete a detail tab for an individual product, you can simply edit the product, remove the detail tab and click Save Changes.
Bulk Delete
To bulk delete the additional detail tabs, you can simply import a CSV sheet with the delimiters (~^) under the "Detail" column.
How to update the "Additional detail" tabs?
Manual Update
To manually update a detail tab for a certain product, you can simply edit the product and update the tabs. Make sure to click Save Changes.
Bulk Update
- Do an export of the "Additional detail" tabs.
- In WSM admin, create a new profile for exporting detail tabs.
- Add the fields StockID and Detail. Make sure to add the delimiters tilde (~) and caret (^).
- Important! Make sure your delimiters are not used in the tab's content. If they are used in the content, change the delimiters to something unique that will not conflict. The use of conflicting delimiters will produce unexpected results.
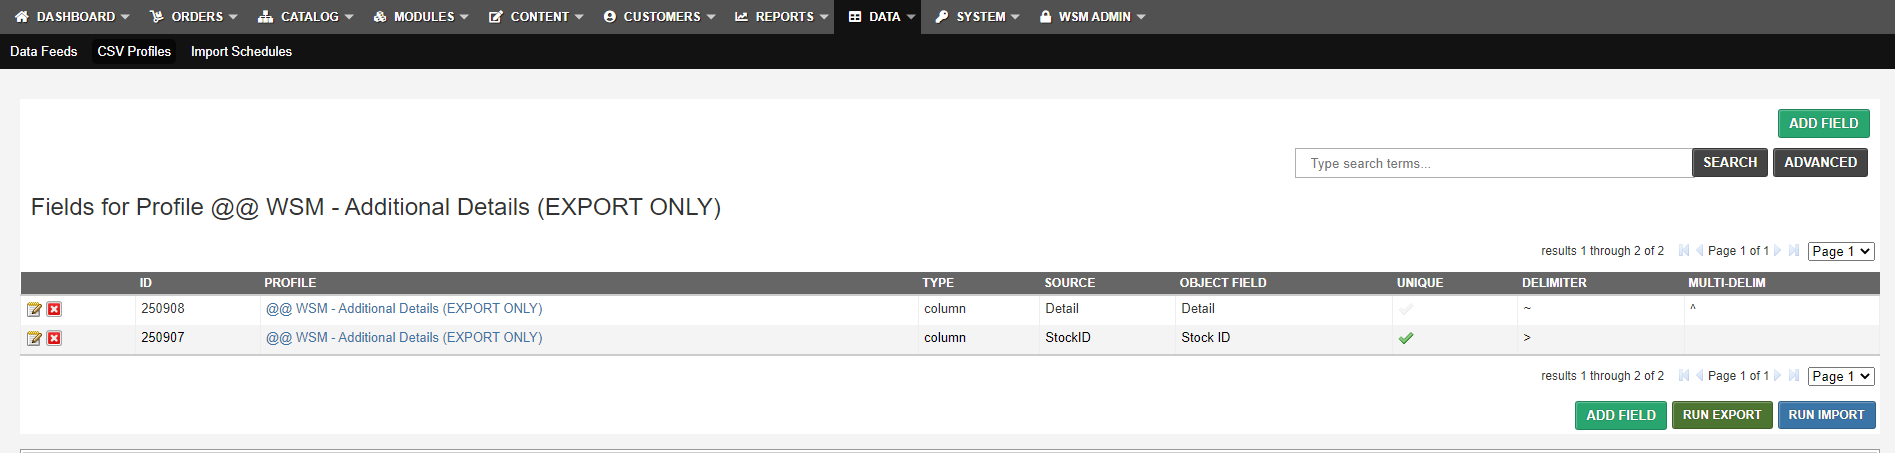
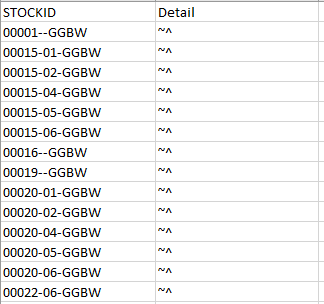
- Click Run Export. Your exported sheet should look like this. As you can see below, each of the detail tab we added earlier are now being combined in one line, but are separated with the delimiters (~^) we specified in our export profile. The "~" separates the fields from the values, while the "^" indicates another field.
- Note: Exporting from the previous page will export every product on the site. If you want to export selectively, you can navigate to a single category, brand, or even export from an advanced search result.

- Note: Exporting from the previous page will export every product on the site. If you want to export selectively, you can navigate to a single category, brand, or even export from an advanced search result.
2. From the exported sheet, you can modify the contents of each detail tab and re-import.
- To re-import an exported file, use the export profile we created above (with the StockID and Detail fields only). This way, you do not need to add a column for each detail tab.
- Important! If you want to replace the detail tabs of a product with the new ones in the file, only click Force. But if you are adding a detail tab on top of the existing ones, click both Force and Append.