Last updated by 7-May-21
What is an Inquiry form?
An inquiry form is a way for websites to gather valuable information and leads from users on the site itself. The inquiry form itself can have a variety of different fields, which will be dependent mostly on the industry the company is involved in.
Skip ahead to
What are the steps to create and/or edit an Inquiry Form
Follow the below steps to get to the add/edit inquiry form page:
- Go to the back end of your WSM
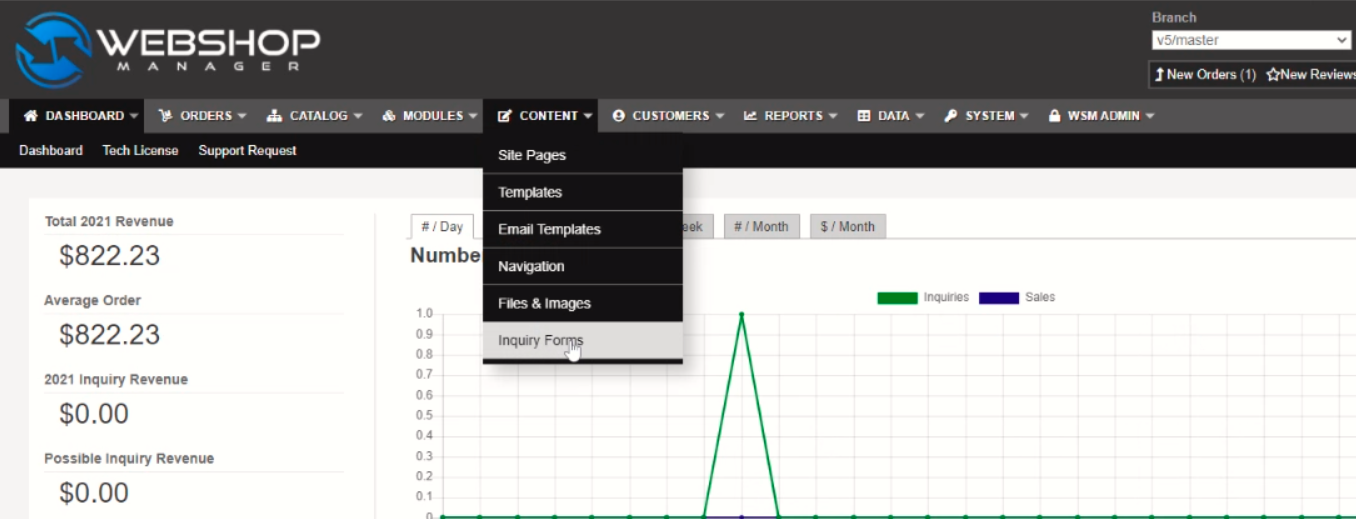
- Hover over Content
- Click on Inquiry Forms
- The next screen will show you a list of all the existing inquiry forms. Check if you already have the one you need, if not, you can add a new one from the same screen:
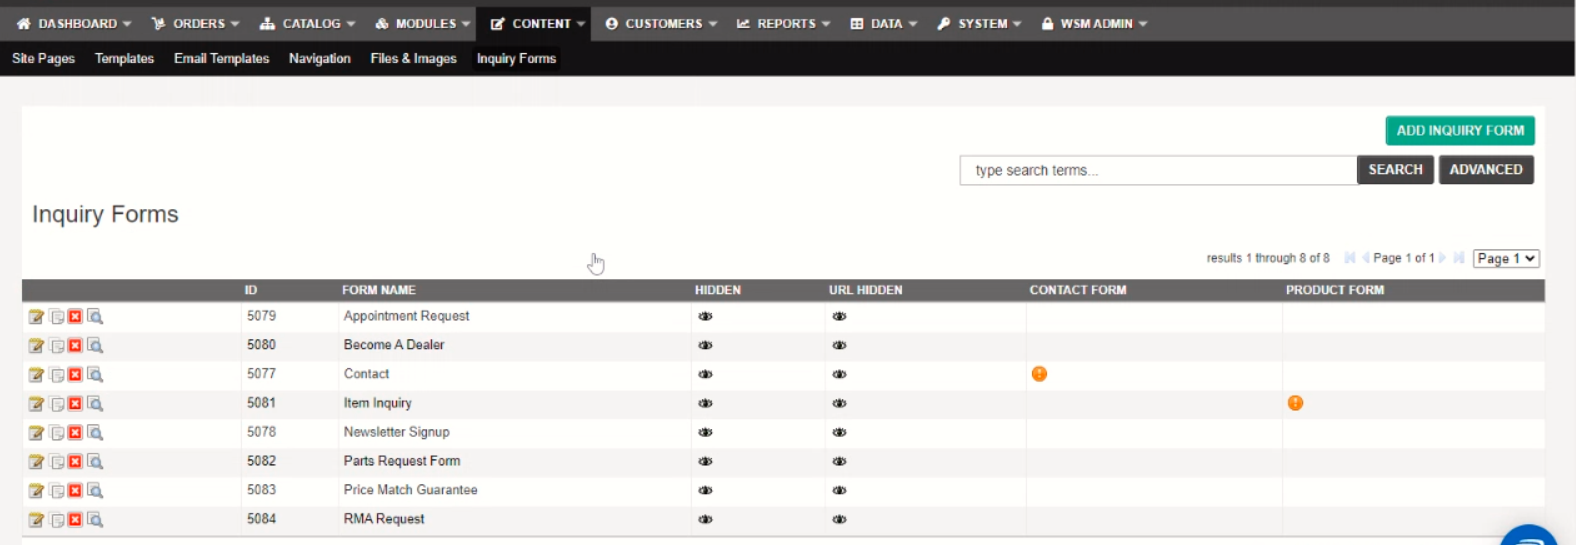
- If you are looking to edit an existing inquiry form, locate the proper one and click the Edit icon (pencil and paper)

- If you are looking to add a new inquiry form, click Add Inquiry Form located in the top and bottom right corners of the list
Once you have done the changes you need, Click Save changes on the green button from the right side corner.
How can I add or remove fields from any inquiry form in Web Shop Manager?
Below are the quick steps.
- Go to the back end of your WSM
- Hover over Content
- Click on Inquiry Forms
- Click the Edit icon on the form you wish to alter
- Click Add Field / Section
- Click and drag the newly added item to the location you want it to appear in the form
- Set Type and additional data for the type you selected
- Once you are finished click Save Changes
Below is a list of each field for the page, refer to the table below for the explanations of each field. It is not mandatory to fill all of them when you are creating your Inquiry Form, feel free to use the ones you need.
|
Field Name
|
Description or Purpose
|
|---|---|
| Form Name | The name of the inquiry form. |
| Email To | The email address where notifications and reply emails are sent once the visitor completes the form. Allows multiple comma separated addresses. Make sure the email address you list will be actively maintained by someone who can handle the inquiries efficiently. |
| Email Cc | Cc address where the inquiry notification will be sent. Allows multiple comma-separated addresses. |
| Email BCc | BCc email address where the inquiry notification will be sent. Allows multiple comma-separated addresses. |
| Email Subject | The subject of the confirmation emails sent out form submission. It's also the subject of the inquiries in WSM. Make sure this isn't too vague so you never write the emails off as spam or skip over them accidentally. |
| Confirmation Email | A custom confirmation email. You can use the following variables in your email: *: URL for the customer to view and reply to the inquiry. | * : Customer Name | *: Customer Email | * : The title of your store | * : List of the fields and values that were submitted. |
| Description | Text or HTML that is displayed above the form. |
| Success Message | The message that's displayed when the user submits the form. This can be filled out in the field as text or HTML. |
| Fields/Sections | Form fields or custom Html. There are several field types you can create which are described below. There are also field types which are not removable and required for the form to work. TYPE DESCRIPTION: *
|
| Contact Form | Replace the default contact form. This will replace any other inquiry form with this option set. |
| Product Inquiry Form | Replace the default product inquiry form. This will replace any other inquiry form with this option set. The "Inquiry Button" option under System > Configuration > Catalog must be enabled to use this option. |
| Hidden | Choose whether or not this form will be viewable publicly on the web. |
| URL Hidden | Choose whether or not this form will be viewable at it's default URL. This would still allow your inquiry form to be used as a widget. |
| Template | Template to display page in. |
Need more help? Check out the Related Articles linked below, contact your Client Success Manager, or submit a Service Desk ticket.