📅Updated: 11/22/2023
Introduction
Microsoft Clarity is a tool that you can request WebShop Manager can install for you that would let you observe how customers behave and interact with your site. With it's easy to use interface, you can visually observe and gather data on how you can improve your conversion rates.
Table of Contents
Setting up an account with Microsoft Clarity
Providing access to your Microsoft Clarity Project
Steps to setup an account with Microsoft Clarity
Step 1) To start setting up, with your browser, go to this link: https://clarity.microsoft.com/ and click Sign Up on top-right of the page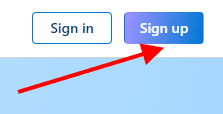
Step 2) Sign up with your preferred account platform of your choice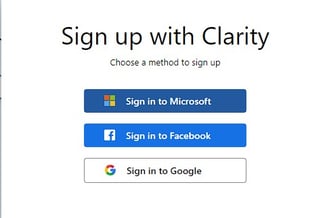
Step 3) After successfully setting up your account and you are logged in, you will be presented with a form to fill up for a new project. The project will be your site you are going to work with.
3.1) Name - Name of your website
3.2) Website URL - Address of your website, ex. "www.webshopmanager.com"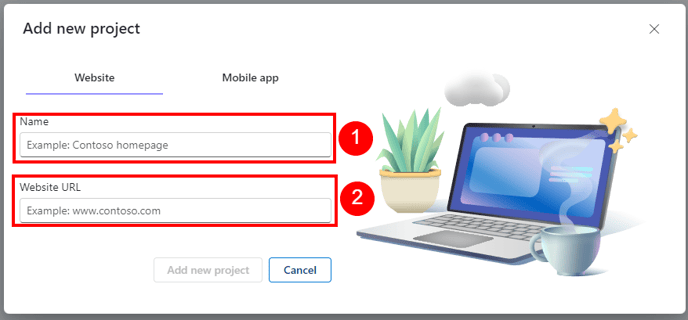
Step 4) Once both fields are populated, please click the "Add new project" button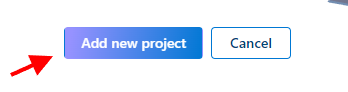
Step 5) On the next screen, you will be presented with options how to install it on your site. To share the code needed for the request, just click the "Share code" button on the bottom right of this panel.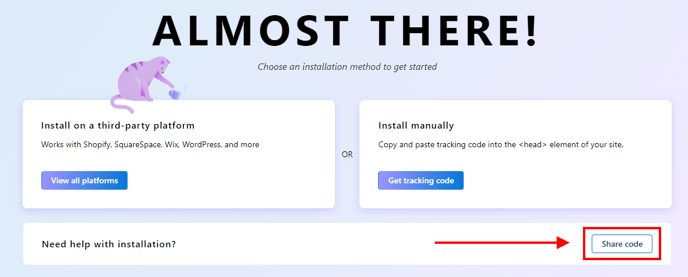
Step 6) Enter the email address of the recipient who is assisting you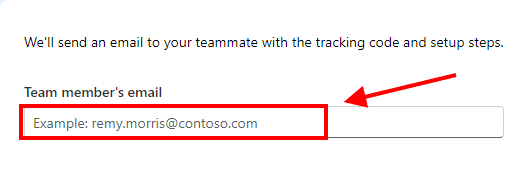
Step 7) Then click the "Send email" button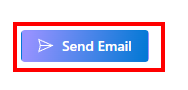
Step 8) Once WebShop Manager has installed the Clarity on your site, click on My Projects and then the Project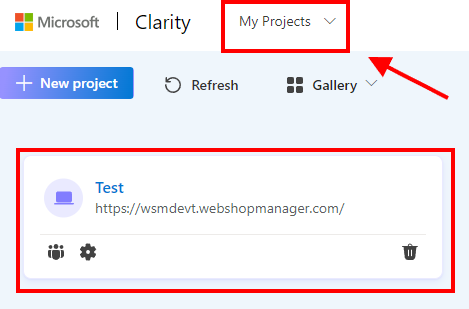
Step 9) Then click on the "Dashboard" on top center which should show you some analytics of your site
9.1) Dashboard - Analytics
9.2) Recordings - How customers interact with your site
Providing Access to your Microsoft Clarity Project
To grant access to a project (website) in Microsoft Clarity, you must have the admin role in the project that you want to share.
Step 1) Log in to your Microsoft Clarity account via https://clarity.microsoft.com.
On logging in, you will be directed to the Clarity dashboard. Here, you can see your projects.
Step 2) Click on the team icon of the project to which you want to grant access.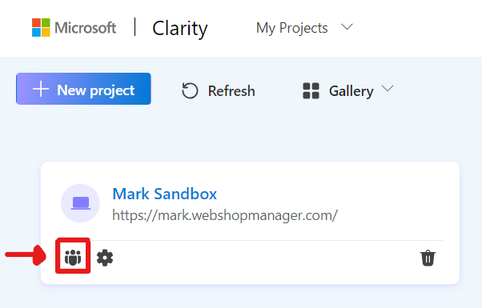
Step 3) On the Team page, click on the "+ Add team member" button.-1.png?width=563&height=218&name=unnamed%20(1)-1.png)
Step 4) On the Email field, enter the email address "analytics@webshopmanager.com" to grant access to the project with. Select the role "Member" and click on the "Add" button.
-1.png?width=315&height=323&name=unnamed%20(2)-1.png)